In this article, we will learn how to avoid wasting papers by first previewing the Excel sheet and then printing it. There are various options present in Print preview in MS Excel 2010.
Highlights
1. What is Print preview?
2. Options available in Print preview
3. How to print an MS Excel worksheet?
1. What is Print preview?
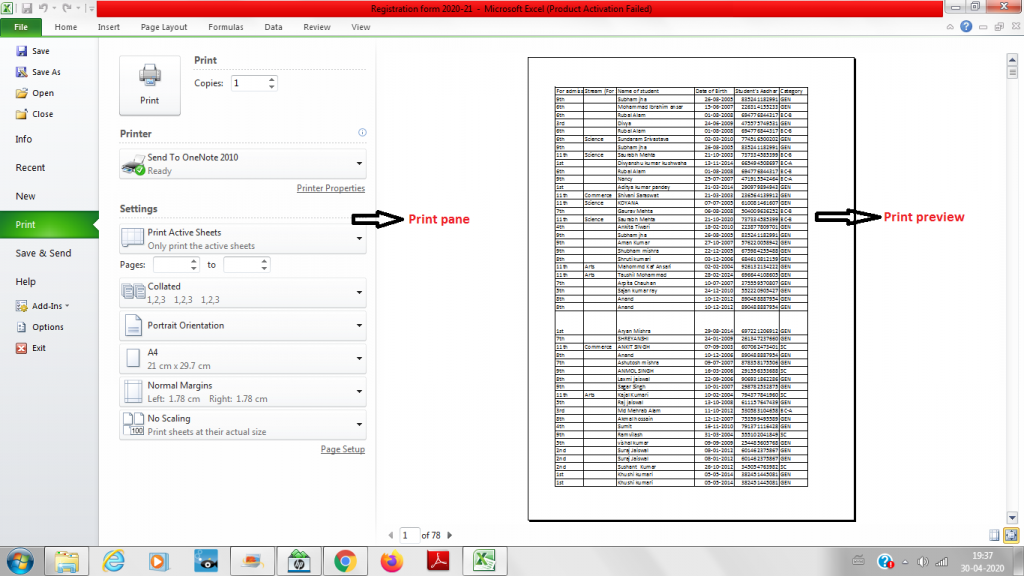
Print preview means to view the document properly and modify it before printing. Print preview option does not print the document but displays it on the monitor or display screen so that we can see how it will actually look after printing. We should always preview the worksheet to avoid unexpected results and wastage of papers.
In the previous versions of MS Excel, Print preview option was present separately but now in Excel 2010 and later versions Print preview has been combined with Print command to create the Print pane. Print pane can be opened as follows:
- Go to File -> Print.
- After selecting Print command, Print pane will appear on the left side with various options and print preview of worksheet will appear on right side.
2. Options available in Print preview
Various options present in Print preview are:
I. To select number of copies
II. To select sheet area to be printed
III. To change page orientation
IV. To select paper size
V. To modify margins of worksheet
VI. To fit worksheet on single page
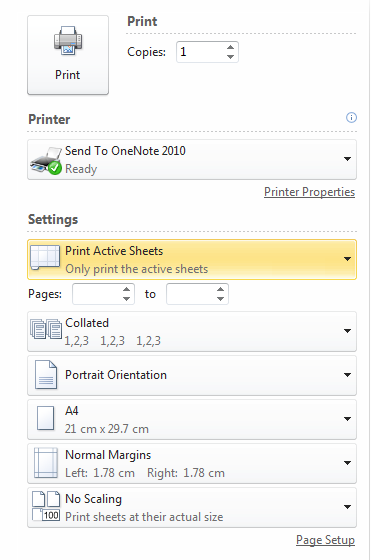
I. To select number of copies
In the Copies option, you can select number of copies to be printed.
II. To select sheet area to be printed
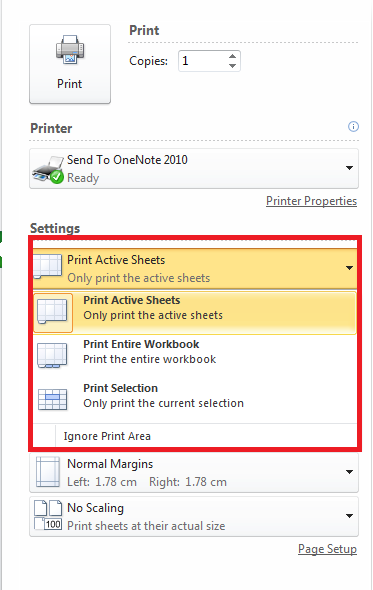
You can select any one of the above 3 options. Print Active Sheets means it will print only the sheet which is selected and shown in print preview. If you select Print Entire Workbook, then it will print all the sheets of workbook. Print Selection option will print only that part of worksheet which has been selected.
III. To change page orientation
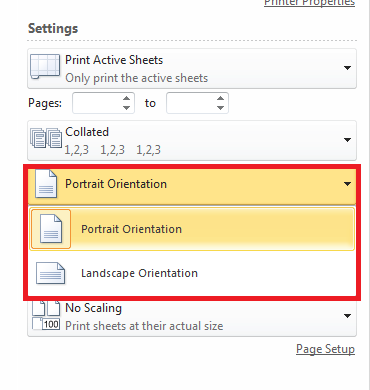
There are two types of Page orientation as shown in the above picture:
- Portrait orientation: It means to orient the page vertically. It is used when we want more number of rows to be printed on a page.
- Landscape orientation: It means to orient the page horizontally. It is used when we want more number of columns to be printed on a page.
IV. To select paper size
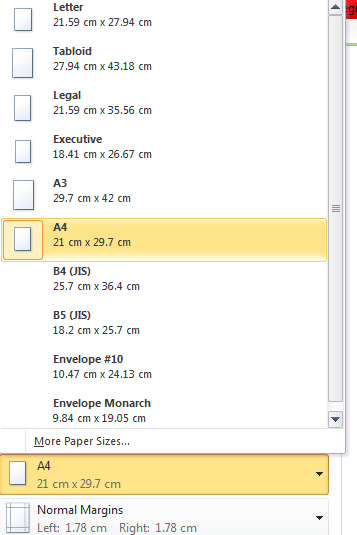
You can select the size of paper like A3, A4, Legal, Letter etc. on which you want your worksheet to be printed.
V. To modify margins of worksheet
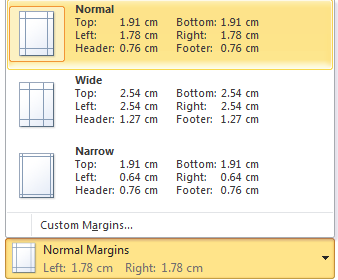
The margins of your worksheet may need to be adjusted to make data fit more comfortably on the printed page. You can adjust the margins in Print Preview as shown in the above picture. Select any one of the options or customize margins by clicking on Custom Margins.
VI. To fit worksheet on single page
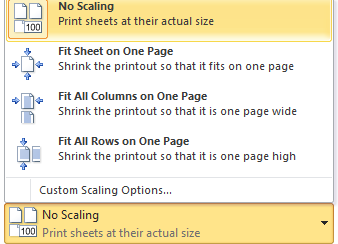
You can fit entire sheet on single page by selecting option Fit Sheet on One page under Scaling options. Similarly, select any one of the above options according to your requirement to fit all rows or columns on single page.
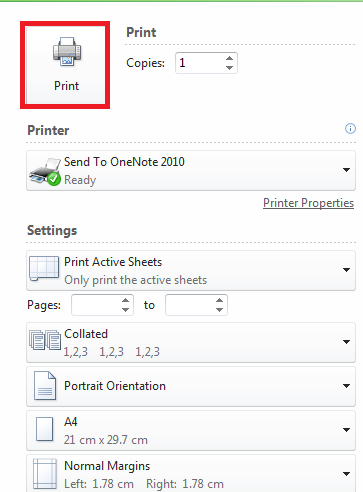
3. How to print an MS Excel worksheet?
- Go to File -> Print.
- Select all the options in Print pane as explained above and look at its print preview properly.
- Click on Print option present in the Print pane as shown below to print the worksheet.
You can also refer official document of MS Excel at Microsoft support link.
Find more blogs on MS Excel here.


